Getting Started
To get you up and running with Zerynth, you need to install the Zerynth SDK.
The Zerynth SDK is the gateway to our platform and includes:
- The Zerynth Toolchain – a command-line interface that integrates all the essential functions for the development of Zerynth OS firmware and the management of devices connected to the Zerynth Device Manager.
- The Zerynth Studio – a basic IDE for the Zerynth Toolchain. It includes development and debugging tools and a vast number of code examples.
To install the Zerynth SDK, download the Zerynth installer according to your platform from the Zerynth Download page.
Note
Zerynth works on 64-bit platform only
To launch the installation, according to your platform, you can:
- Double click on the executable file on Microsoft Windows
- Open and run the disk image (.dmg) file on Mac OS
- Extract the “tar.xz” archive and run the “./zerynth” command from the terminal on Linux
Warning
Only for Microsoft Windows platform: if the alert message for “allowing unknown publisher to make changes to this computer” appears click on the “Yes” option
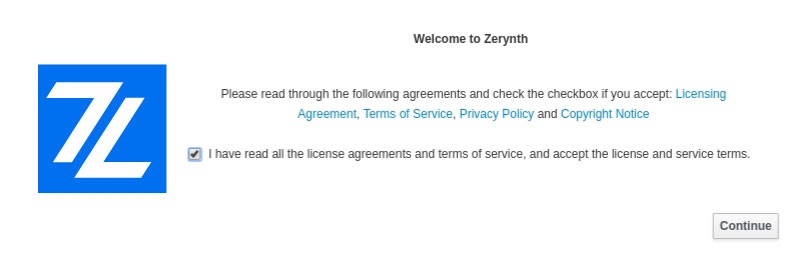
Once the installation starts, you are asked to agree to the “License and Service Terms” to continue.
After accepting the terms, you can choose between two options to complete the installation: online and offline.
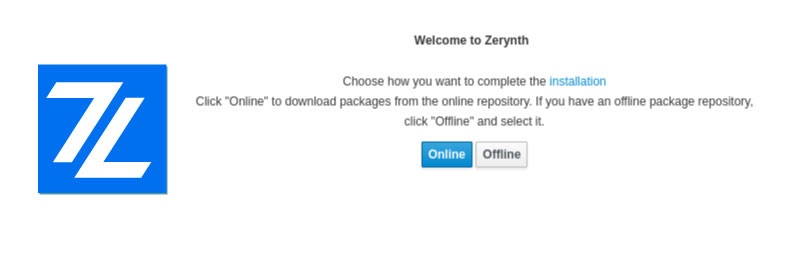
The online installation is recommended. The offline installation meets the needs of educational and training courses, workshops, or places with network and internet issues. It enables you to download an offline package repository and share it with other people for facilitating and speeding up the installation process.
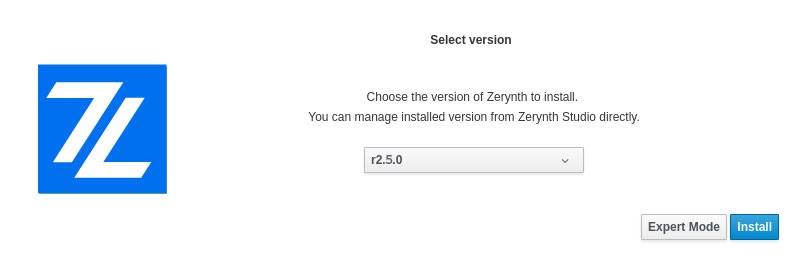
If you choose the online installation, you can select which version of Zerynth SDK you want to install. By clicking the install button, the required files are downloaded and unpacked.
If you choose the offline installation, you need to have the offline package repository on your machine. It can be downloaded in advance for your platform (Windows, Mac, Linux), from the Zerynth Download page.
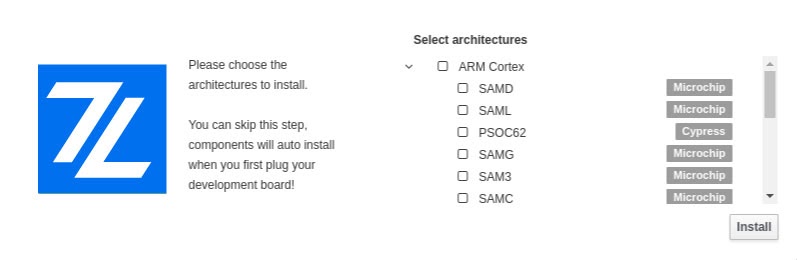
Expert mode
To reduce the number of files downloaded during the installation process, the installer will let you choose which of the supported architectures to install.
By clicking “Install” none of the available architectures will be downloaded and you will be prompted to download the needed dependencies whenever Zerynth Studio recognizes a new board.
By choosing “Expert Mode” you will be able to select the architectures you wish to download right now, but you will still be prompted to install the needed dependencies if you connect a board with an architecture not included in the already downloaded ones.
Launching Zerynth Studio
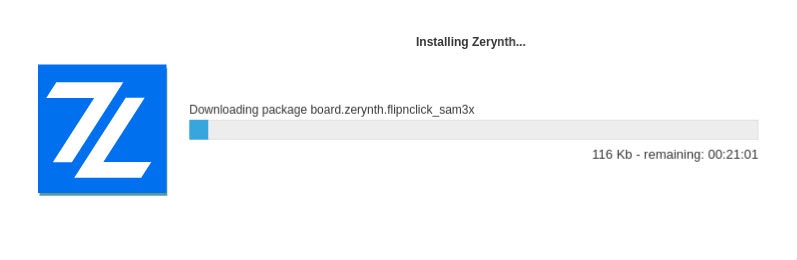
Now the system unpacks and installs all the required packages creating a working instance on your local machine; you have to wait a few minutes to complete the Zerynth installation.
Launch Zerynth Studio and you’ll be ready to work.
Third-Party IDE plugins
Once you have the Zerynth SDK installed you can code using your favorite IDE by installing the dedicated plugin or using the ready to use project template. For more details on how to develop for Zerynth OS follow the develop guide we made for Zerynth studio, the main steps are the same also for third party IDEs.
VSCode
This is a step by step guide for enabling Zerynth SDK usage in Microsoft Visual Studio Code.
VSCode is a free multi-language editor that can be downloaded and installed from here.
We prepared a VSCode template project that enables the execution of compilation, uplink, and other functions of the Zerynth toolchain (ZTC) directly from VSCode while also adding support for Zerynth libraries auto-completion.
Note
This guide requires Zerynth Version 2.6.0 or later
Download the VSCode project template for your platform from here:
Note
the templates follow the Zerynth distribution versioning. Go to the Github release section and download the template for your Zerynth installation version. We strongly suggest having Zerynth always updated to the last version thus install the last release fo the VSCode templates.
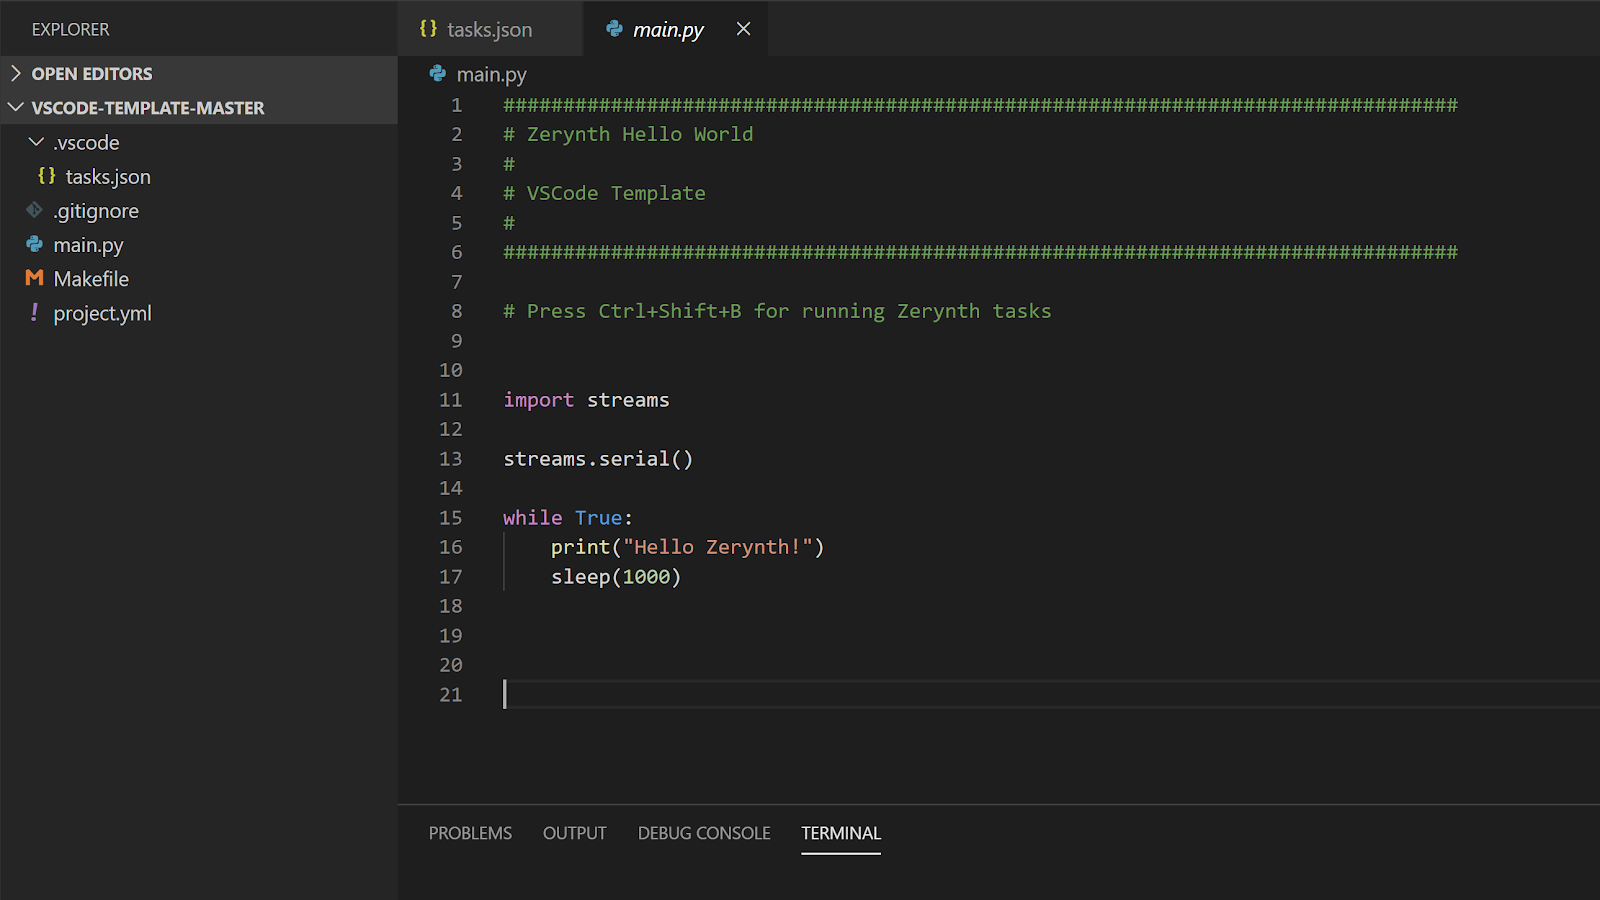
The template is a ready-to-use VSCode project for Zerynth. Open the template folder and you are ready to code.
The most important files in the template are:
-
main.py: Write your Zerynth code here
-
project.yml: The project configuration file where the target board, board port, and other info need to be added in order to allow compilation, uplink, and other functionalities of the Zerynth tool-chain. The Zerynth commands integrated into the VSCode will support you in preparing the project.yml, see below.
Usage
Press CTRL+SHIFT+B and select the ZTC command to launch.
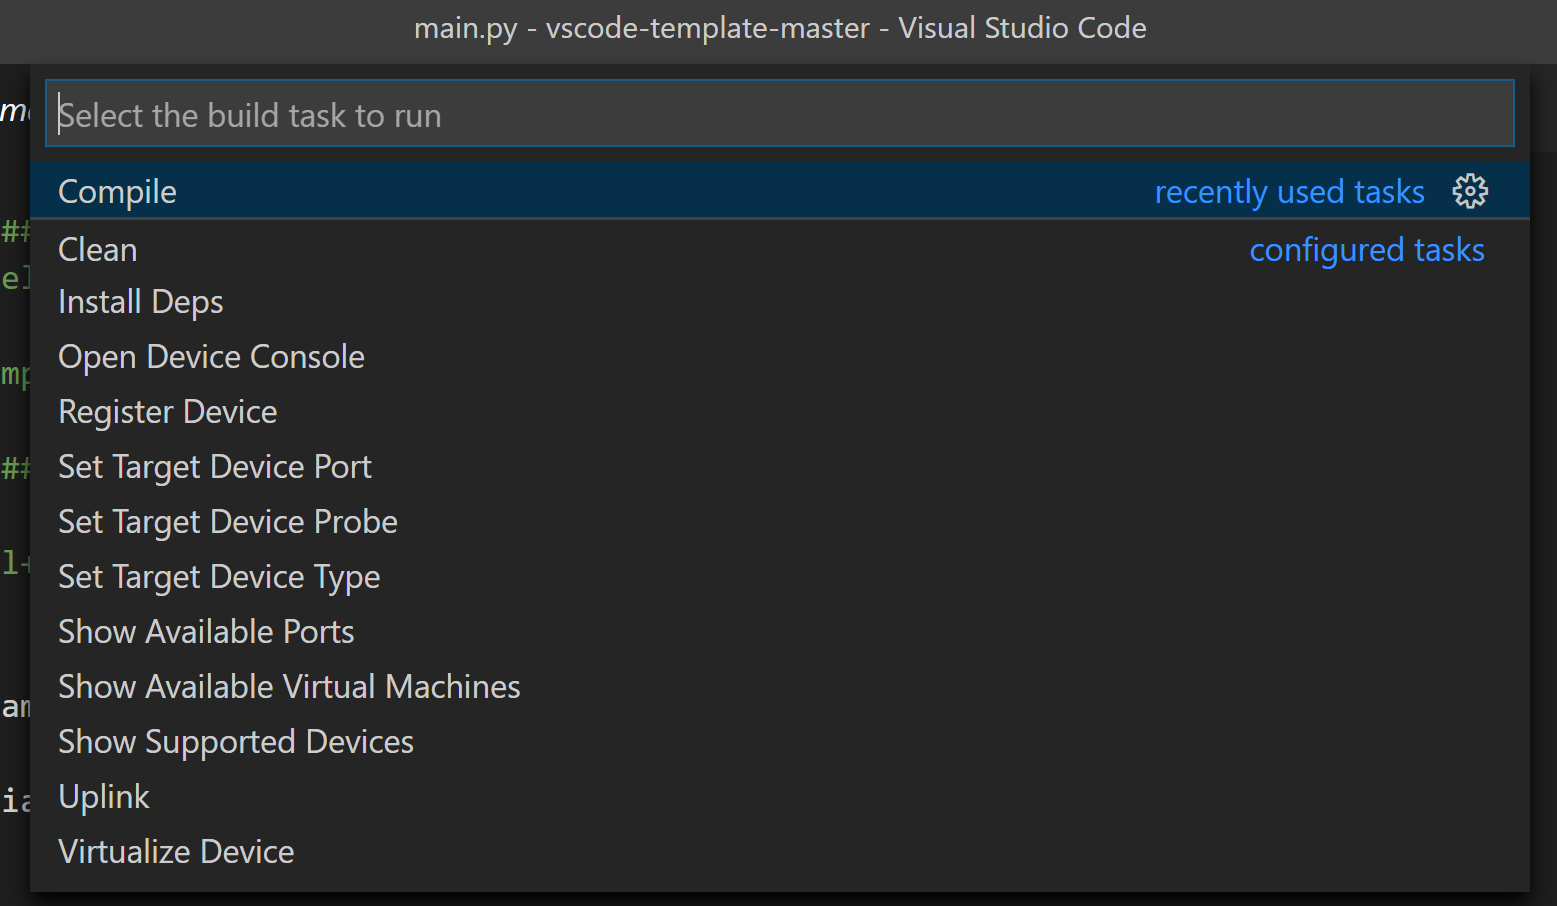
The following ZTC commands are available:
- Login: Open a browser for authentication; paste the authentication token into the vscode terminal
- Show Supported Devices: the list of supported devices is shown on the terminal, find the “target” name of your device. Jtag probe support is also displayed.
- Set Target Device Type: change the target device of the current project. Type your device target name found in the previous step
- Register Device: starts the device registration procedure (mandatory for new devices). It updates the project configuration with the device identifier
- Show Available Virtual Machines: displays the various virtual machine available for the device. Choose one and note down version, features, and RTOS. Open project.yml and type the version, RTOS and feature fields in the VM section
- Virtualize Device: starts the device virtualization procedure (mandatory for new boards). Create, download, and transfer the selected VM on the device. Automatically updates project configuration
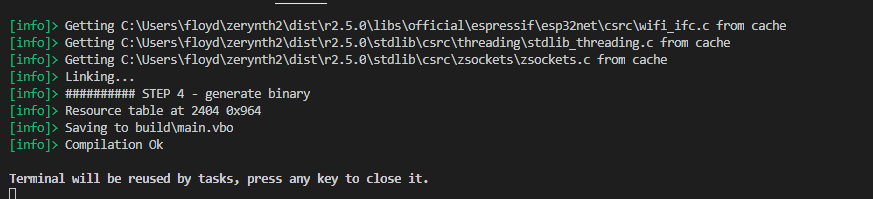
- Compile: Compiles the current project. If you get an error about missing dependencies, run the Install Deps command below
- Show Available Ports: list the serial ports on your system; Note down the one corresponding to your device
- Set Target Device Port: set the serial port of the device from the previous list
- Set Target Device Probe: if the device is programmable with a jtag probe, set the correct value
- Uplink: uplink the current project on the selected target device (must be virtualized at least once)
- Clean: clean the project cache and allows full recompilation of sources
- Install Deps: Installs missing dependencies and libs required by the project
- Open Device Console: Opens the serial console on the target device port; Press Ctrl+C twice to close it
- Prepare FOTA: create and uploads new firmware to the ZDM. The device_id to prepare the firmware for needs to be specified in the project.yml file under the zdm section (zdm: {device_id: XXXX} ); the firmware version must also be specified in the zdm fota section ( zdm: { fota: {version: X }}); By running the command on a new project, the required fields with empty values are automatically added to the configuration. Edit them with your device data.
To add other commands or customize them you can follow this guide.