Arduino DUE
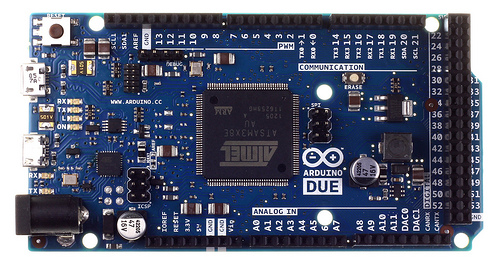
The Arduino Due is a microcontroller device based on the Atmel SAM3X8E ARM Cortex-M3 CPU. It is the first Arduino device based on a 32-bit ARM core microcontroller. It has 54 digital input/output pins (of which 12 can be used as PWM outputs), 12 analog inputs, 4 UARTs (hardware serial ports), a 84 MHz clock, an USB OTG capable connection, 2 DAC (digital to analog), 2 TWI, a power jack, an SPI header, a JTAG header, a reset button and an erase button.
Warning
Unlike other Arduino devices, Arduino Due runs at 3.3V. The maximum voltage that the I/O pins can tolerate is 3.3V. Providing higher voltages, like 5V to an I/O pin could damage the device.
Note
All the reported information are extracted from the official Arduino DUE page, visit this page for more details and updates.
Pin Mapping
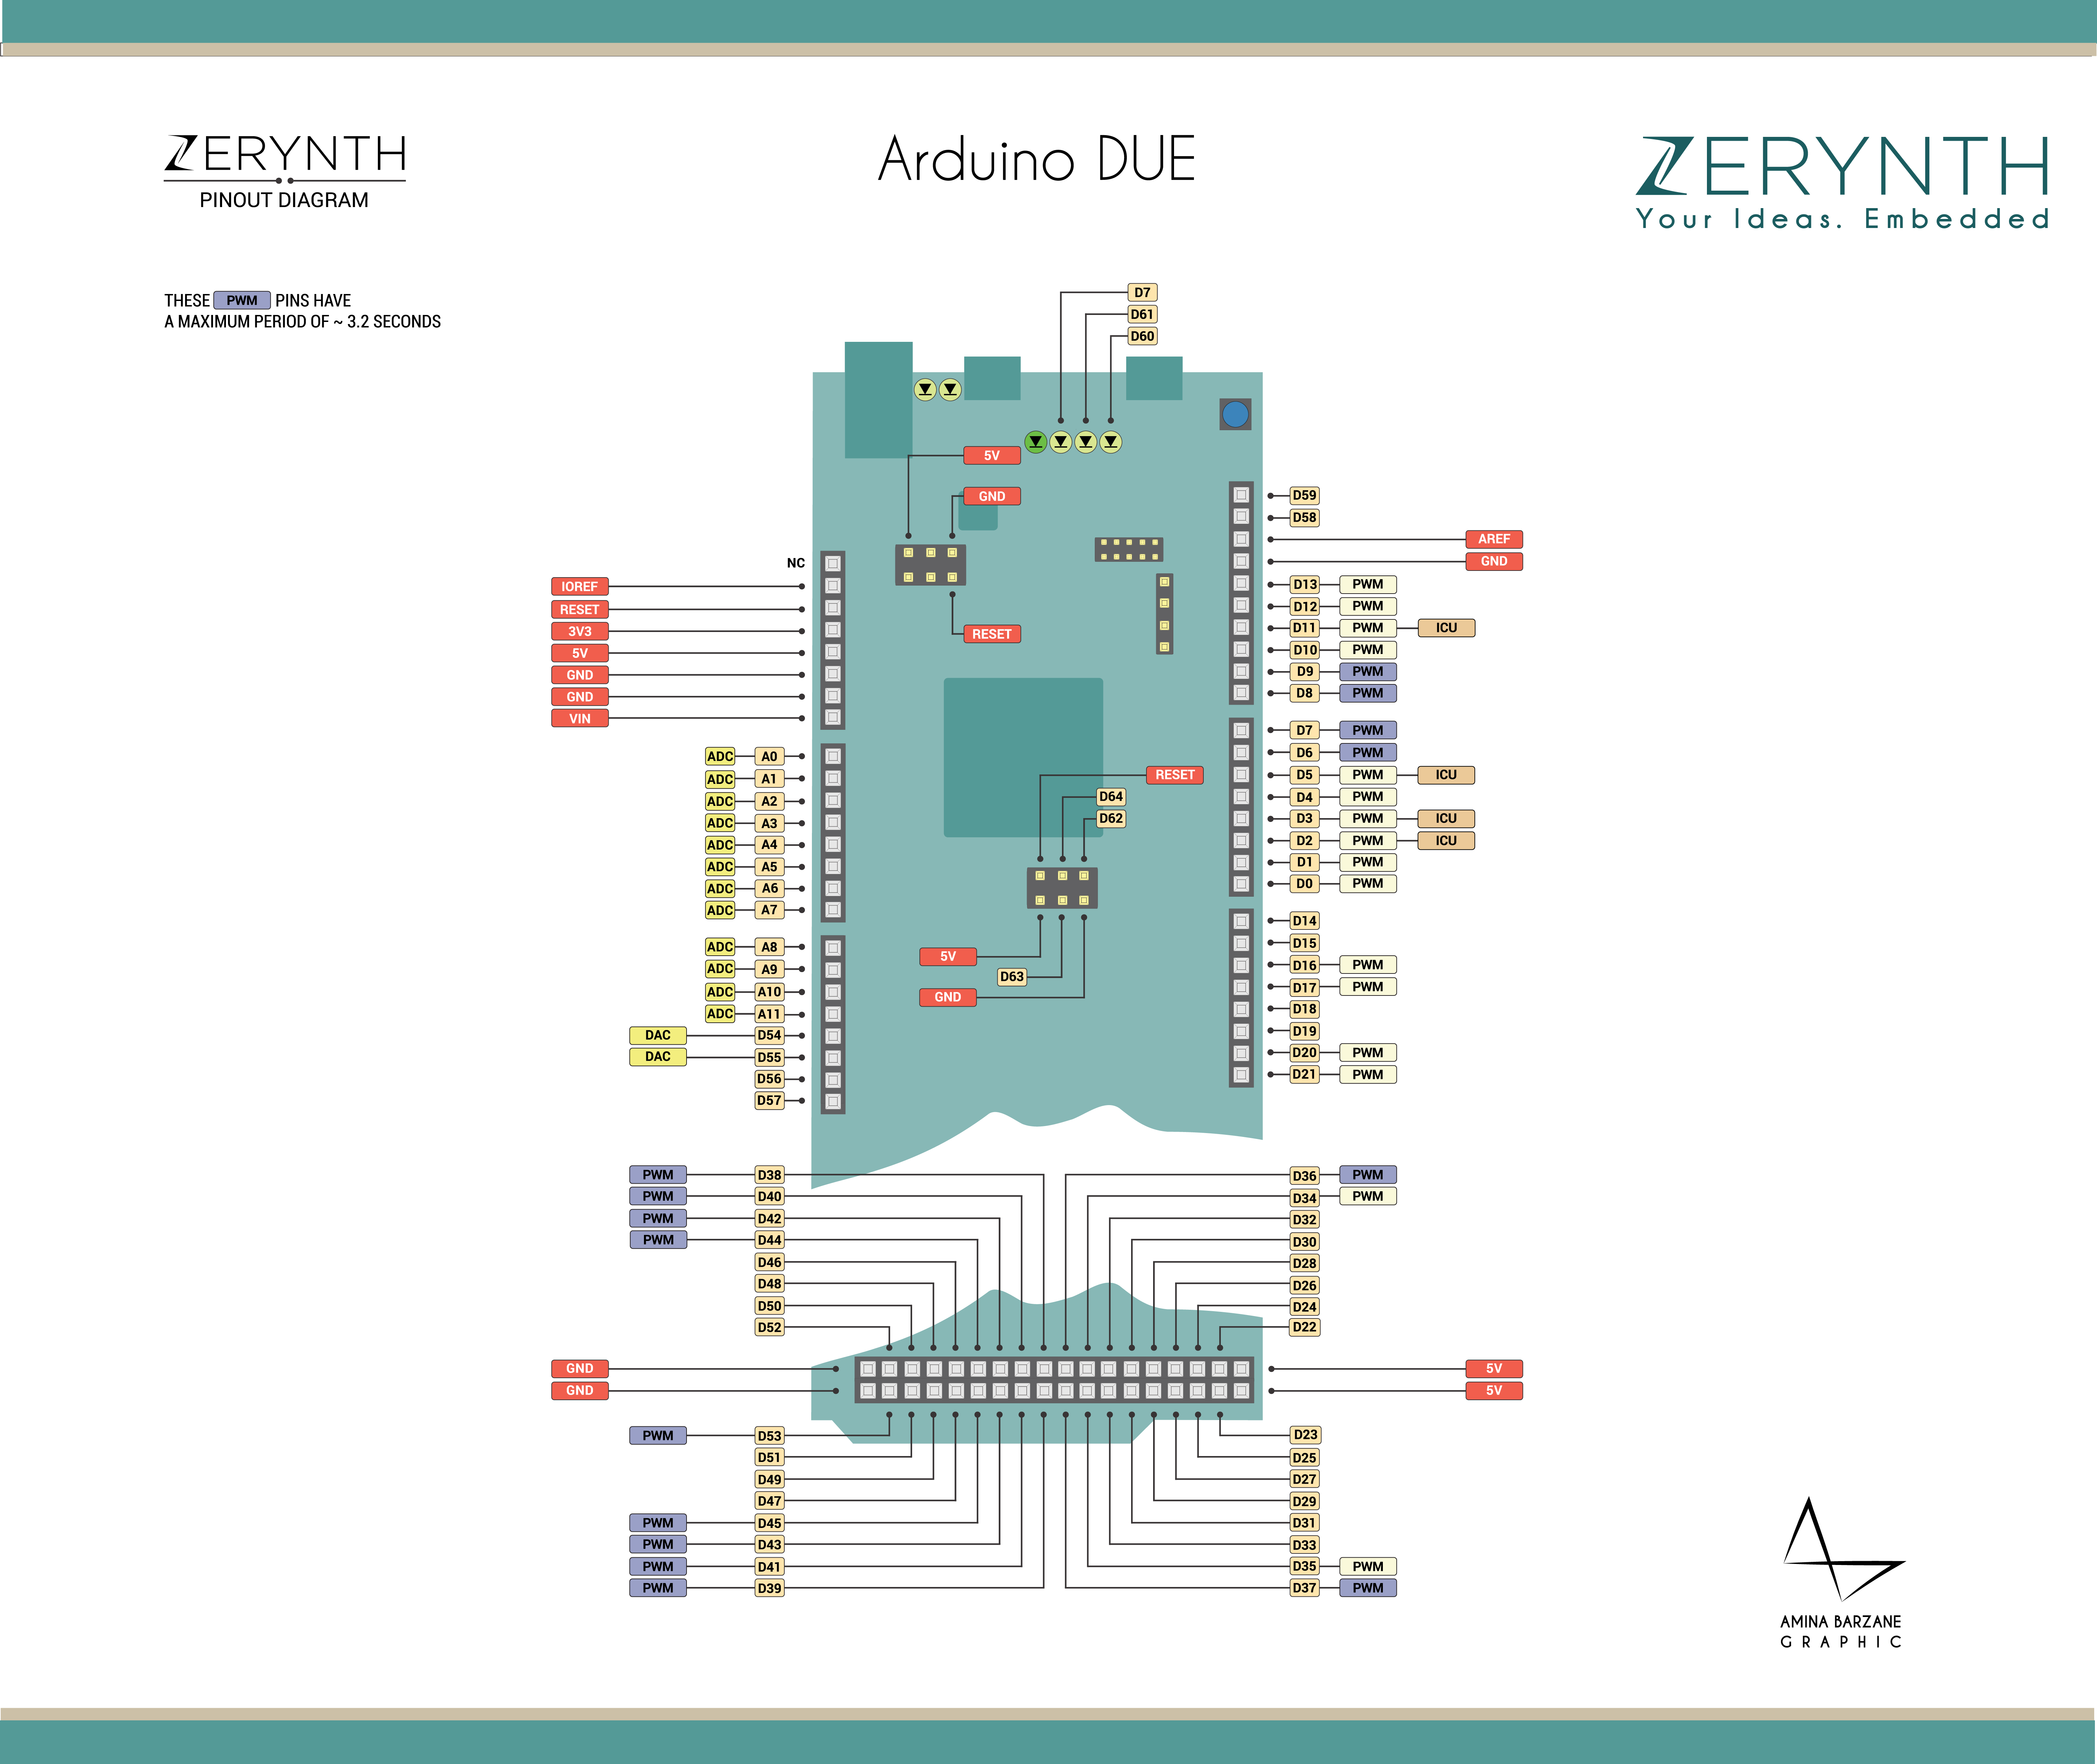 Arduino Official Schematic, Reference Design and Pin Mapping are available on the official Arduino DUE reference page.
Flash Layout
The internal flash of Arduino Due is organized into two banks of 256k each. Each bank is divided into 1024 pages of 256 bytes each. The first bank, starting at 0x80000, is used by the virtual machine runtime. The second bank is used to store bytecode and can be read and written from a Zerynth program using the internal flash module. The bytecode always starts at the address 0xC0000 (the starting address of the second bank) and ends depending on its size. The second bank extends up to address 0x100000. If internal flash has to be used in a Zerynth program, it is recommended to start using pages from the end of the bank towards the bytecode, to minimize the chance of clashes.
Device Summary
- Microcontroller: AT91SAM3X8E
- Operating Voltage: 3.3V
- Input Voltage: 7-12V
- Digital I/O Pins (DIO): 54
- Analog Input Pins (ADC): 12
- Analog Outputs Pins (DAC): 2
- UARTs: 4
- SPIs: 1
- I2Cs: 1
- CAN: 2
- Flash Memory: 512 KB
- SRAM: 96 KB
- Clock Speed: 84 MHz
- Size (LxW mm): 101.52 x 53.3
Power
The Arduino Due can be powered via the USB connector or with an external power supply. The power source is selected automatically. External (non-USB) power can come either from an AC-to-DC adapter (wall-wart) or battery. The adapter can be connected by plugging a 2.1 mm center-positive plug into the device’s power jack. Leads from a battery can be inserted in the Gnd and Vin pin headers of the POWER connector.
The device can operate on an external supply of 6 to 20 volts. If supplied with less than 7V, however, the 5V pin may supply less than five volts and the device may be unstable. If more than 12V are used, the voltage regulator may overheat and damage the device. The recommended range is 7 to 12 volts.
Connect, Register, Virtualize and Program
The Arduino DUE Programming port is connected to an ATmega16U2, which provides a virtual COM port to software on a connected computer, allowing for a seamless virtualization of the device.
Note
Drivers for the FTDI can be downloaded here and are needed for Windows and Mac platforms.
Note
For Linux Platform: to allow the access to serial ports the user needs read/write access to the serial device file. Adding the user to the group that owns this file, gives the required read/write access: Ubuntu distribution –> dialout group; Arch Linux distribution –> uucp group.
The 16U2 is also connected to the SAM3X hardware UART. Serial on pins RX0 and TX0 provides Serial-to-USB communication for programming the device through the ATmega16U2 microcontroller.
Once connected on a USB port, if drivers have been correctly installed, the Arduino DUE device is recognized by Zerynth Studio. The next steps are:
- Select the Arduino DUE on the Device Management Toolbar;
- Register the device by clicking the “Z” button from the Zerynth Studio;
- Create a Virtual Machine for the device by clicking the “Z” button for the second time;
- Virtualize the device by clicking the “Z” button for the third time.
Note
No user intervention on the device is required for registration and virtualization process
After virtualization, the Arduino DUE is ready to be programmed and the Zerynth scripts uploaded. Just Select the virtualized device from the “Device Management Toolbar” and click the dedicated “upload” button of Zerynth Studio.
Note
No user intervention on the device is required for the uplink process.
Firmware Over the Air update (FOTA)
The Firmware Over the Air feature allows to update the device firmware at runtime. Zerynth FOTA in the Arduino Due device is available for bytecode only.
Flash Layout is shown in table below:
| Start address | Size | Content |
|---|---|---|
| 0x00080000 | 256Kb | VM Slot |
| 0x000C0000 | 125Kb | Bytecode Slot 0 |
| 0x000E0000 | 128Kb-256b | Bytecode Slot 1 |
| 0x000FFF00 | 256b | FOTA Record |