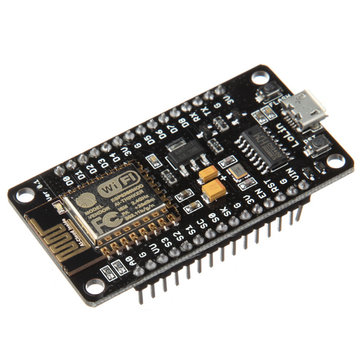
NodeMCU v3
NodeMCU v3 is a development board which runs on the ESP8266 with the Espressif Non-OS SDK, and hardware based on the ESP-12 module. The device features 4MB of flash memory, 80MHz of system clock, around 50k of usable RAM and an on chip Wifi Transceiver.
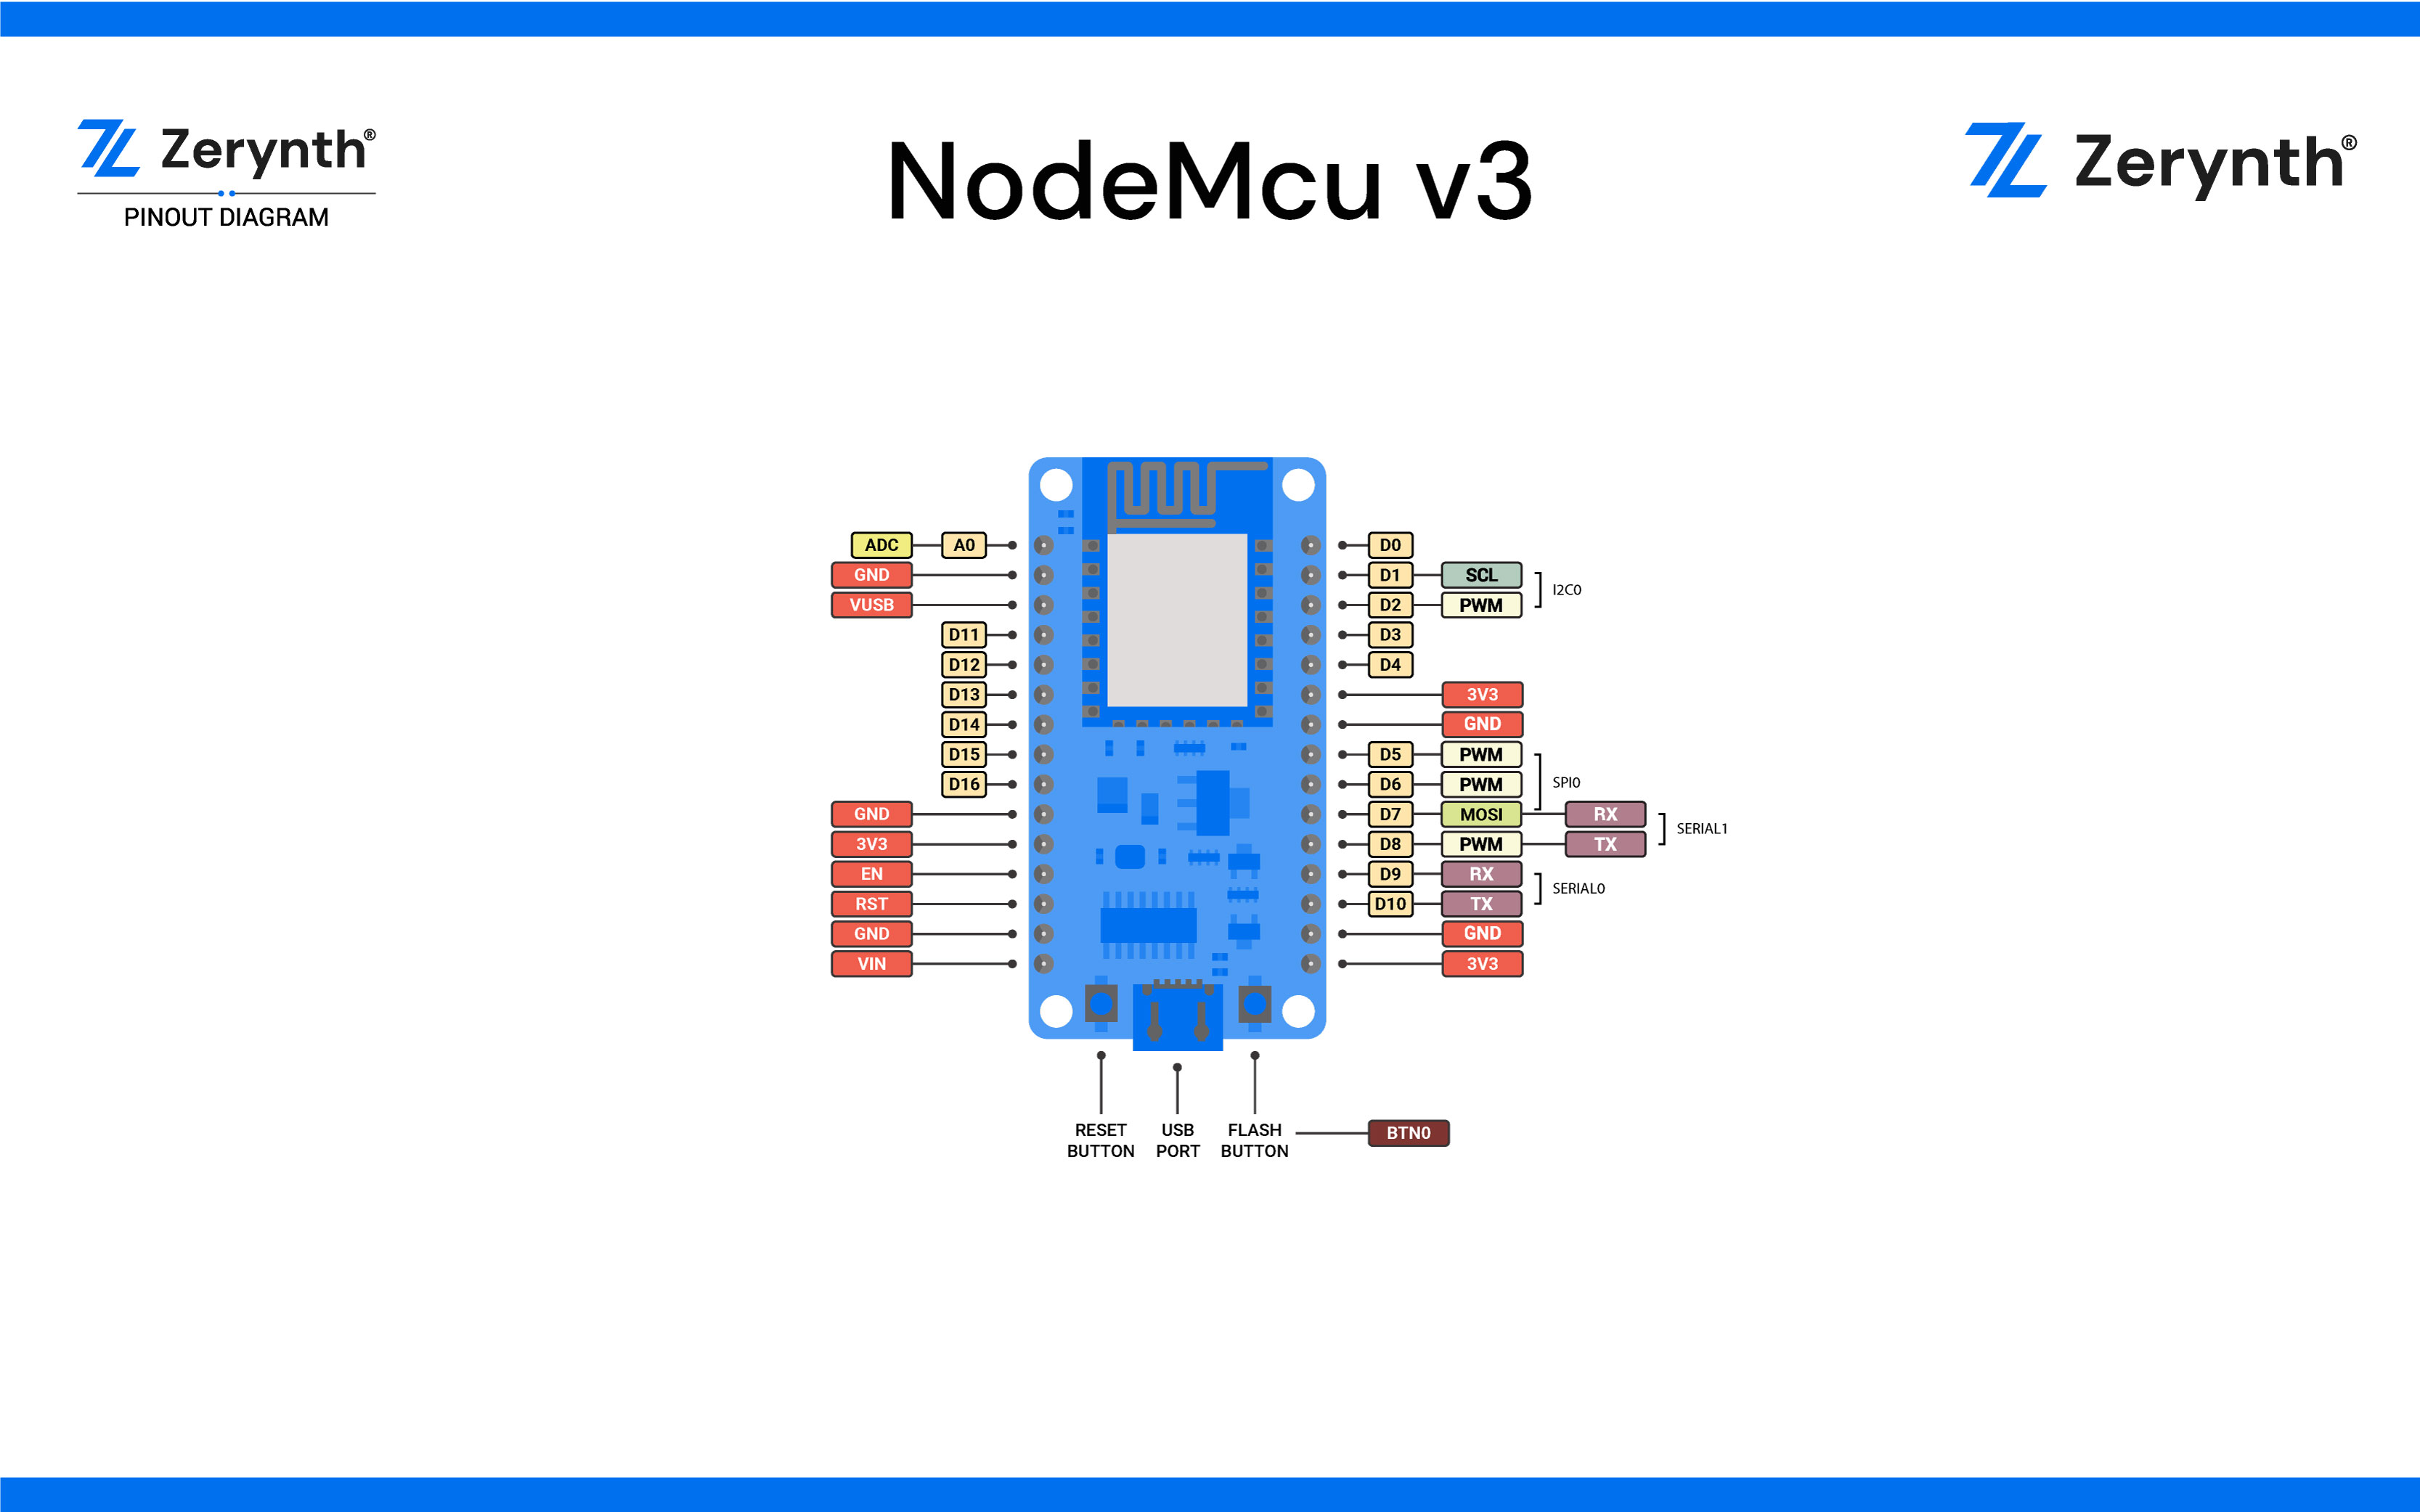
Pin Mapping
Flash Layout
The NodeMCU v3 device features a 4 MB (32 Mb) flash memory organized in sectors of 4k each. The flash memory address starts at 0x40200000 and can be read and written from a Zerynth program using the internal flash module.
Warning
If flash memory must be used in a Zerynth program, it is recommended to begin using it from secure addresses towards the end the bytecode (start address of the bytecode can be found in the log console of Zerynth Studio during the uplink operation), leaving a minimum safe place to minimize the chance of clashes.
Note
The internal flash of NodeMCU v3 can be organized in different ways. The standard VM is a non-FOTA VM with the VM code beginning at 0x0000, followed by the esp8266 ir0m image at 0x20000 and the esp_init_data at 0x3fc000. The VM is based on the Espressif RTOS SDK 1.4.1.
Device Summary
- Microcontroller: Tensilica 32-bit RISC CPU Xtensa LX106
- Operating Voltage: 3.3V
- Input Voltage: 7-12V
- Digital I/O Pins (DIO): 16
- Analog Input Pins (ADC): 1
- UARTs: 1
- SPIs: 1
- I2Cs: 1
- Flash Memory: 4 MB
- SRAM: 64 KB
- Clock Speed: 80 Mhz
- Wi-Fi: IEEE 802.11 b/g/n:
- Integrated TR switch, balun, LNA, power amplifier and matching network
- WEP or WPA/WPA2 authentication, or open networks
Power
Power to the NodeMCU v3 is supplied via the on-board USB Micro B connector or directly via the “VIN” pin. The power source is selected automatically.
The device can operate on an external supply of 6 to 20 volts. If using more than 12V, the voltage regulator may overheat and damage the device. The recommended range is 7 to 12 volts.
Connect, Register, Virtualize and Program
The NodeMCU v3 exposes the serial port of the ESP8266 module via CH340 USB to UART chip which is also connected to the boot pins of the module, allowing for a seamless virtualization of the device.
Note
Drivers for the CH340 Module can be downloaded here and are needed for Windows and Mac platforms.
Note
For Linux Platform: to allow the access to serial ports the user needs read/write access to the serial device file. Adding the user to the group, that owns this file, gives the required read/write access: Ubuntu distribution –> dialout group; Arch Linux distribution –> uucp group.
Once connected to a USB port the NodeMCU v3 device can be seen as a Virtual Serial port and it is automatically recognized by Zerynth Studio. The next steps are:
- Select the NodeMCU v3 on the Device Management Toolbar (disambiguate if necessary);
- Register the device by clicking the “Z” button from the Zerynth Studio;
- Create a Virtual Machine for the device by clicking the “Z” button for the second time;
- Virtualize the device by clicking the “Z” button for the third time.
Note
No user intervention on the device is required for registration and virtualization process.
After virtualization, the NodeMCU v3 device is ready to be programmed and the Zerynth scripts uploaded. Just Select the virtualized device from the “Device Management Toolbar” and click the dedicated “upload” button of Zerynth Studio.
Note
No user intervention on the device is required for the upload process.
Important
To exploit the Wi-Fi chip functionalities of the NodeMCU v3, the lib.espressif.esp8266wifi library must be installed (some example code is provided).
Firmware Over the Air update (FOTA)
The Firmware Over the Air feature allows to update the device firmware at runtime. Zerynth FOTA in the NodeMCU v3 device is available for bytecode only.
Flash Layout is shown in table below:
| Start address | Size | Content |
|---|---|---|
| 0x40200000 | 448Kb | VM Slot |
| 0x40270000 | 256Kb | Bytecode Slot 0 |
| 0x402B0000 | 320Kb | Bytecode Slot 1 |
Important
FOTA Record (small segment of memory where the current and desired state of the firmware is store) for the NodeMCU v3 is allocated in the RTC memory.
Power Management
Power Management feature allows to optimize power consumption by putting the device in low consumption state. More information in Power Management - ESP8266 section.