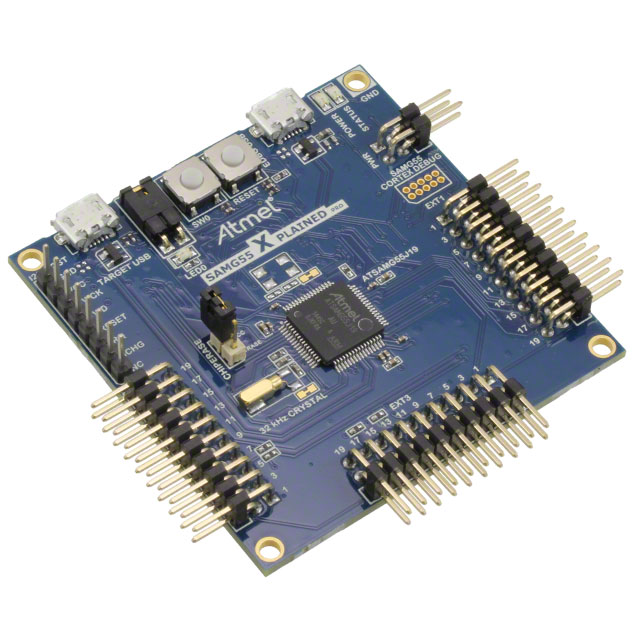
Xplained Pro Sam G55
The SAM G55 Xplained Pro evaluation kit is ideal for evaluation and prototyping with the SAM G55 Cortex-M4 processor-based microcontrollers. The Xplained Pro extension kits offer additional peripherals to extend the features of the device and ease the development of custom designs.
The SAM G55 Xplained Pro features 2 UARTs, a 120 MHz clock, 3 TWIs, 1 SPI and a reset button.
One of its most important features is the Atmel Embedded Debugger (EDBG), which provides a full debug interface without the need for additional hardware, significantly increasing the ease-of-use for software debugging. EDBG also supports a virtual COM port.
Note
All the reported information are extracted from the official Xplained Pro Sam G55 page, visit this page for more details and updates.
Pin Mapping
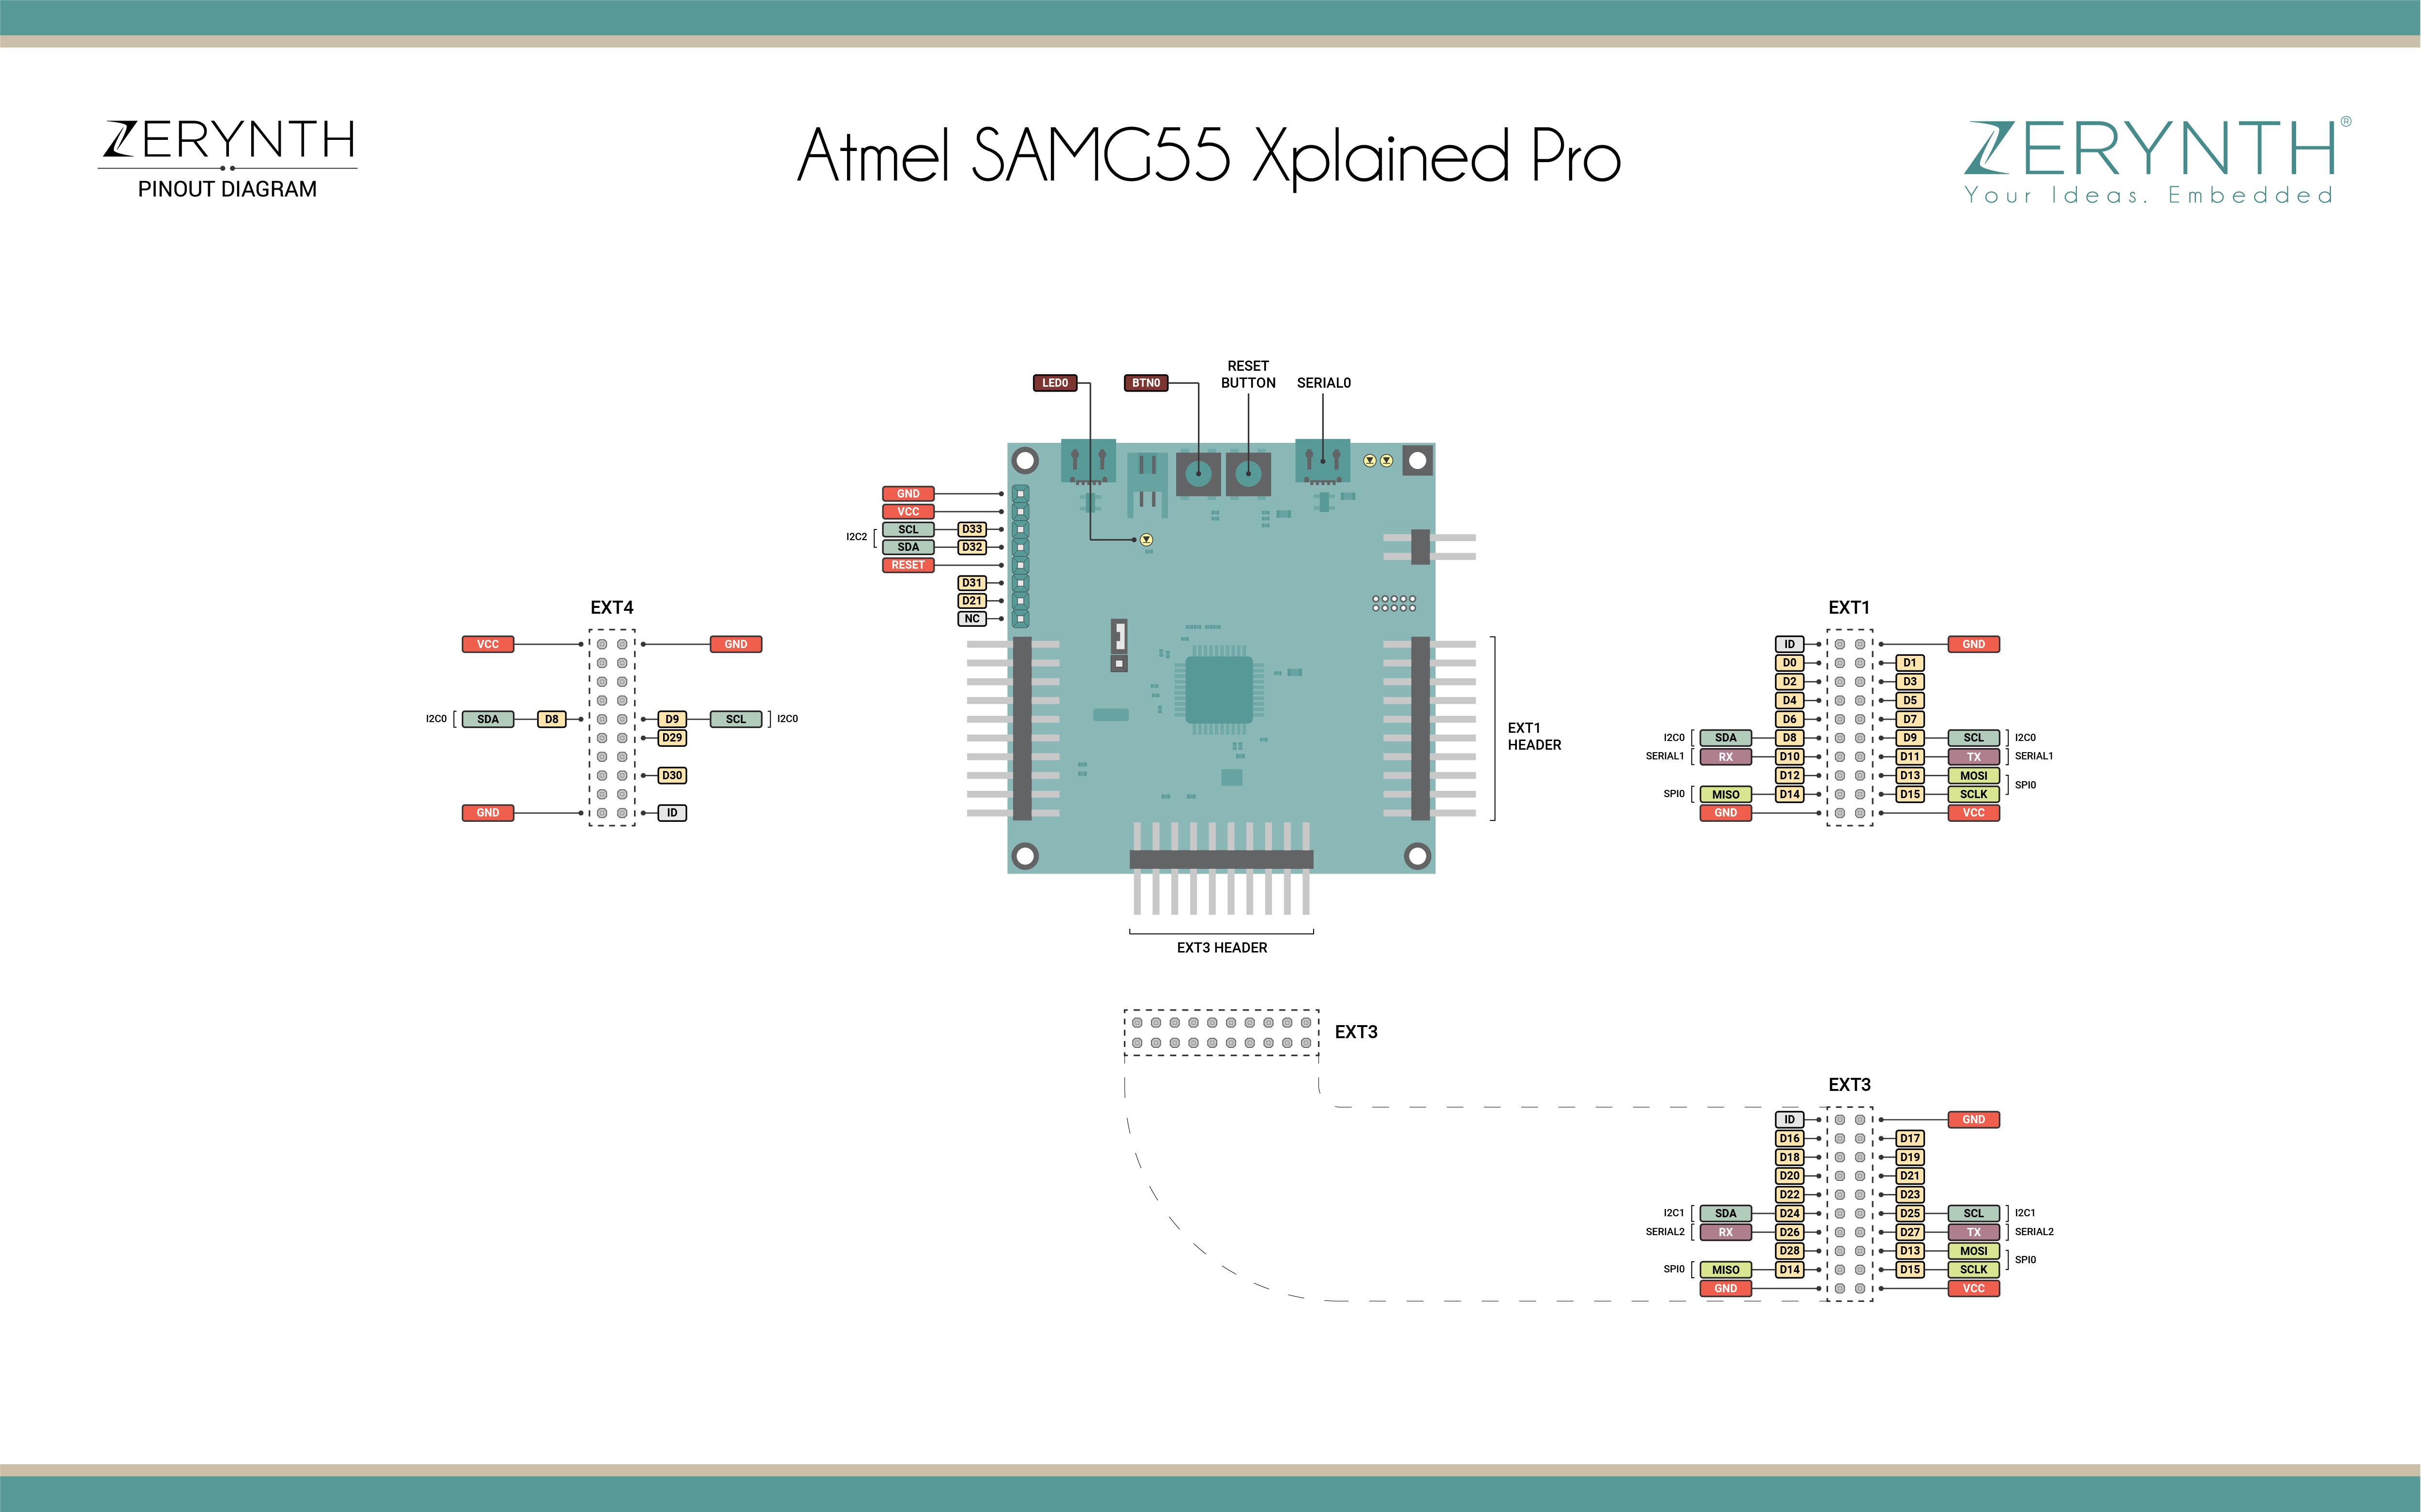
Xplained Pro Sam G55 Official Schematic, Reference Design and Pin Mapping are available on the official Microchip User Guide.
Flash Layout
The internal flash of the Xplained Pro Sam G55 is organized as a single bank of 512k. Zerynth VM starts at address 0x400000.
Device Summary
- Microcontroller: ATSAMG55J19
- Operating Voltage: 3.3V
- UARTs: 3
- SPIs: 1
- I2Cs: 3
- Flash Memory: 512 KB
- Clock Speed: 120 MHz
Power
The Xplained Pro Sam G55 can be powered via the USB connector or with an external power supply via “GND” and “EXT” pins of the PWR header.
The device can operate on an external supply of 5V ±2% (±100mV) for USB host operation or from 4.3V to 5.5V if USB host operation is not required. Current recommended requirements, in external power supply mode, are:
- minimum 1A to be able to provide enough current for connected USB devices and the device itself.
- maximum is 2A due to the input protection maximum current specification
Note
External power is required when 500mA from a USB connector is not enough to power the device with possible extension boards. A connected USB device in a USB host application might easily exceed this limit.
Connect, Register, Virtualize and Program
The Xplained Pro Sam G55 debug port is connected to EDBG, which provides a virtual COM port to software on a connected computer. To recognize the device, all Windows (automatic driver software installation), OSX and Linux machines will recognize the device as a COM port automatically.
Note
For Linux Platform: to allow the access to serial ports the user needs read/write access to the serial device file. Adding the user to the group, that owns this file, gives the required read/write access: Ubuntu distribution –> dialout group; Arch Linux distribution –> uucp group.
If the device is still not recognized or not working, the following udev rules may need to be added:
# Check SUBSYSTEM
SUBSYSTEMS=="hidraw", KERNEL=="hidraw*", MODE="0666", GROUP="dialout"

# Xplained Pro SamG55 Device
SUBSYSTEMS=="usb", ATTRS{idVendor}=="03eb", ATTRS{idProduct}=="2111", MODE="0666", GROUP="users", ENV{ID_MM_DEVICE_IGNORE}="1"
SUBSYSTEMS=="tty", ATTRS{idVendor}=="03eb", ATTRS{idProduct}=="2111", MODE="0666", GROUP="users", ENV{ID_MM_DEVICE_IGNORE}="1"
EDBG is also connected to the SAMG55 hardware UART. Serial on pins RX0 and TX0 provides Serial-to-USB communication for programming the device through Atmel EDBG.
Once connected on a USB port the Xplained Pro Sam G55 device is recognized by Zerynth Studio. The next steps are:
- Select the Xplained Pro Sam G55 on the Device Management Toolbar;
- Register the device by clicking the “Z” button from the Zerynth Studio;
- Create a Virtual Machine for the device by clicking the “Z” button for the second time;
- Virtualize the device by clicking the “Z” button for the third time.
Note
No user intervention on the device is required for registration and virtualization process
After virtualization, the Xplained Pro Sam G55 is ready to be programmed and the Zerynth scripts uploaded. Just Select the virtualized device from the “Device Management Toolbar” and click the dedicated “upload” button of Zerynth Studio and reset the device by pressing the Reset on-board button when asked.
Note
Advanced programming and debugging through EDBG are available in Device Management Advanced Mode selecting Atmel EDBG interface.